
Paper Making
For the past year, I've spent a great deal of time learning how to make paper from natural ingredients and experimenting with the best techniques given that I'm working out of my own home and don't have access to professional blenders, presses, or mixing vats. I've tried to document this very messy process in the photographs below.
Cotton Rag Paper

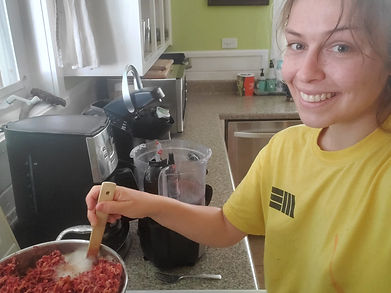
Step 1 was to cut up shirts made of 100% cotton into tiny pieces because I wasn't willing to buy cotton linters. Step 2 was cooking the tiny pieces in an alkaline solution. I used pH Up, a powder people add to pools, to create my basic solution.
Next, I needed to blend up my cooked cotton after rinsing it to remove the alkaline solution. Without the luxury of a Hollander Beater, this was an extremely slow and tedious process. Eventually my textile pulp was ready to go into a vat with water so I could practice pulling sheets with my homemade mould and deckle.

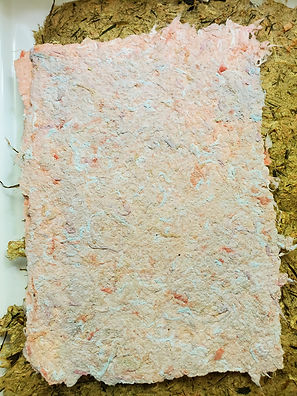
Pulling the sheets was difficult at first but I slowly got the hang of it. I couched sheets on felt and plywood because I didn't have any wool. I pressed the sheets by simply laying layers of wood and weight on top of them. Some of the paper turned blue due to the dye running from the felt, but other than that, the cotton rag paper was a success!
Daylily Paper

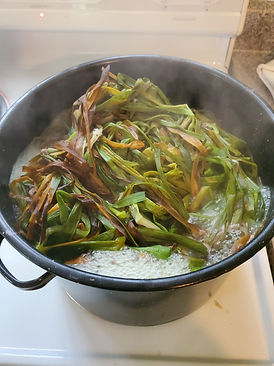
After using cotton, I tried daylily leaves as a source of fiber. First I dried them by putting them in the oven at the lowest heat setting. Next, I boiled them in an alkaline solution before using a wooden rolling pin to beat the fibers.

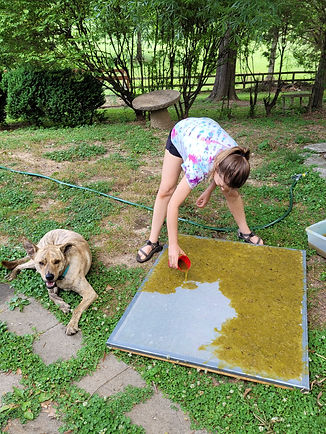
I suspended the fibers in water after beating them. I wanted to use a very large mould for this batch of paper, but I didn't have a vat large enough from which I could pull sheets of this size. Instead, I modified the procedure and poured the fiber and water mixture over my homemade mould.

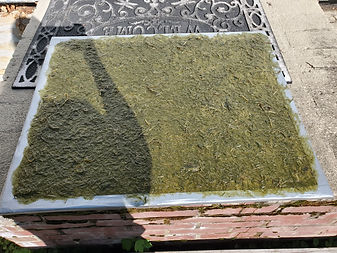
Couching the daylily paper was very difficult compared to the cotton rag paper. The delicate plant fiber didn't seem to want to come off the moulds in one piece. Because of this, I allowed most of my sheets to dry directly on the mould before using a spatula to remove them. This worked very nicely and kept the paper from shrinking and wrinkling as it dried.
Hickory Bark Paper


After trying unsuccessfully to make paper with American Holly bark and Oregon Grape bark, I tried hickory. These three species were available to me because I had recently cut down the Holly and Oregon Grape and pruned the hickory branches that were hanging into the driveway. I do my best to use what I have on hand rather than killing plants specifically to make paper.
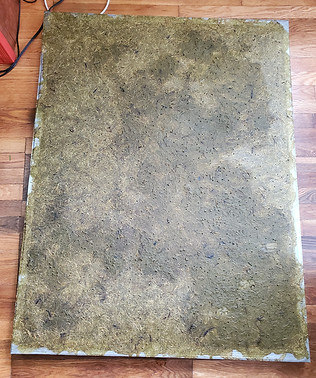
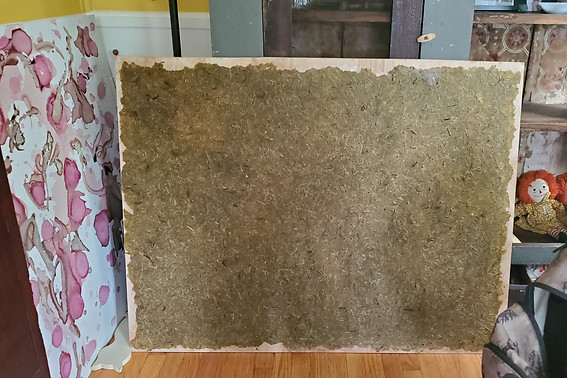
The hickory wood had to be cut into pieces that would fit in a pot. I then boiled these hunks of wood until the outer and inner bark began to peel. I stripped the wood by hand and realized that I would never be able to separate the inner from outer bark. Thus, it all went into an alkaline solution to be cooked into fiber. Interestingly, the alkaline solution turned a beautiful mahogany color and I saved it to neutralize and use for other art projects.
After cooking the fiber and rinsing it, I beat it into a pulp which I then suspended in water. The resulting paper turned out beautifully even though I wasn't able to separate the bark layers. This was the most successful experiment with paper making yet!